Keep Reading
If you enjoyed the post you just read, we have more to say!
tutorial
Angela Stringfellow
Last updated on
Regardless of the platform, push notifications have become an integral part of any application. Whether it’s a mobile app, desktop app, web app, or even a video game, push notifications are required to drive user engagement and increase revenues.
Modern applications need to be both present on all available platforms and have push notification capability, but the trouble is that each of the platforms has different sets of protocols and syntax to send notifications. For example, a web application alone needs a different schema to send push notifications to various browsers such as Chrome, Edge, Firefox, Safari, etc.
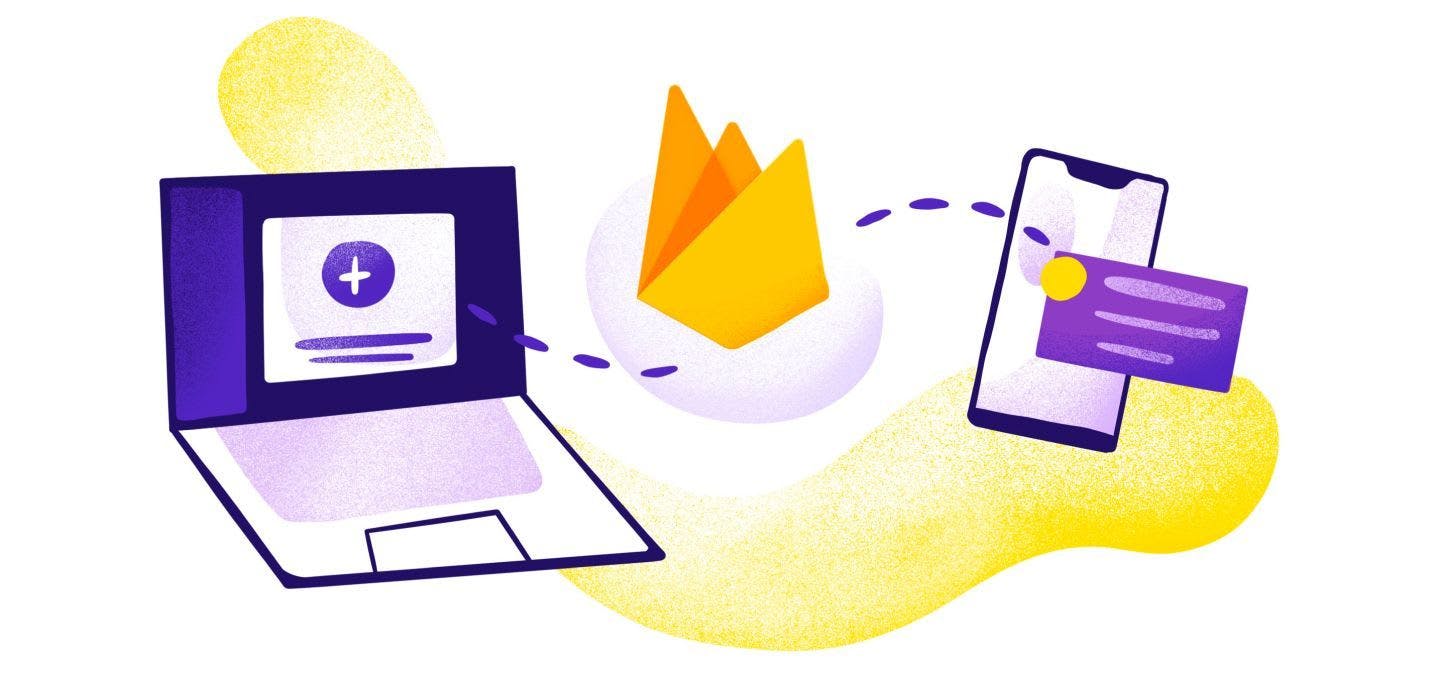
This fragmentation in standards makes it difficult to implement the feature, but fortunately, notification aggregators can now provide a solution by enabling developers to send notifications across various platforms. One such solution is Firebase Cloud Messaging.
Firebase Cloud Messaging (FCM) is just one part of the cloud solution offered by the tech giant Google. The service was previously known as Google Cloud Messaging (GCM), and the change in branding was completed with the goal of having a tight integration with Firebase, the Google cloud platform for app development. With FCM you can send messages across the following platforms to your users:
This streamlines the process and makes the developers’ work much easier. More than this, it also has a simple-to-use UI window that anyone without programming experience can use. FCM has many tools that are suitable for developers and marketers alike, and they are each discussed in the following sections.
Sending push notifications is the basic functionality of FCM, and both notification messages and data messages can be sent with FCM. The major advantage is that sending push notifications to various devices can be done from a single console, as FCM takes care of all the background processes for the different platforms on the developer’s behalf.
Not all of your app’s users will respond to every message you send in the same way. With FCM, it’s possible to create various segments of users according to their demographics and psychographics. Marketers can then send each of the target groups different push notification messages which, in turn, ensures that users receive the most relevant messages and increases user engagement with the application.
Different users interact with push notifications and applications in different ways, which then generates a vast amount of data that contains meaningful insights into user behavior. Going through the large dataset is not realistically possible as it requires the analytical prowess of algorithms and computer processes. FCM has tight integration with the analytics suite from Google, which can be used by marketers and developers to perform analytics and draw meaningful insights. These insights can then be used to increase user engagement, sales, and other performance indicators.
Push notification strategies have to be tested to identify the best methods for conversion before they are implemented on a larger scale. The most popular testing methodology is A/B testing, and FCM offers an easy platform to A/B test different push notification approaches. This helps to send different types of notifications to different users and test the performance of each message. This, in turn, helps to determine the best approach for each segment of users.
In-app messages are context-based messages application servers send to client devices. FCM offers the capability to send in-app messages from the same console as push notifications. This console can be algorithmically programmed to automate messages according to user interactions and inputs, thereby providing users with richer engagement with applications.
An application or web-based service needs to sync a lot of data from the server from where the application is hosted. This will include content, multimedia, messages, emails, and other data. The prompt to sync data can be sent using FCM, ensuring the client application will always be up to date.
Application updates are generally served to users through the respective marketplaces (for example, the App Store and Google Play). Often users do not install the latest updates, but remote config can be used to change the look and feel of applications without the need for downloading app updates. The application can be built using some default values for the various UI elements, and FCM remote config can be used to change the default values using the Firebase console or the Remote Config backend APIs. This can be enabled for all users or a segment of users.
As mentioned earlier, FCM can be used to send push notifications to various platforms. This versatility allows developers to implement push notifications across different platforms from a single console. In the following sections, we discuss how to set up push notifications for Apple and Android, as these are the most popular platforms. Information and instructions on how to implement push notifications for Web apps, Unity, and C++ are available in the Firebase documentation.
The basic requirement for setting up push notifications with FCM for client apps on the Apple platform are as follows:
Use the Firebase console to create a new project by clicking the ‘Add project’ button.

Enter a name for the project and hit ‘Continue.’

In the next step, you can choose whether to link the project with Google Analytics. Once you’ve made your decision, hit the ‘Create Project’ button.

The console will now set up the project, which can take a couple of minutes to complete. The following screen then appears once the setup is complete.

Next, from the project dashboard, click the iOS icon to add your app to the project.
Register the app in the following window.

You’ll next need to provide the Apple bundle ID. The Bundle Identifier is found in the General tab for your app's primary target in Xcode. You can also provide a nickname for the app and an Apple Store ID. Lastly, click on the ‘Register app’ button.
Download the GoogleService-Info.plist file from the next page, move it to the root of your Xcode project and add it to all targets.

Use Swift Package Manager to install and manage Firebase dependencies.
After you click Finish, Xcode will automatically begin resolving and downloading your dependencies in the background.
To connect Firebase to your application, paste the initialization code below to your main AppDelegate class.
import Firebase
import UIKit

@UIApplicationMain
class AppDelegate: UIResponder, UIApplicationDelegate {
  var window: UIWindow?
  func application(
    _ application: UIApplication,
    didFinishLaunchingWithOptions launchOptions:
      [UIApplicationLaunchOptionsKey: Any]?
  ) -> Bool {
    FirebaseApp.configure()
    return true
  }
}
Once all these steps are accomplished, the Firebase console can be used to send push notifications to client apps in the Apple ecosystem.
If you’re developing an Android app with Firebase, the following requirements must be met before you start building the application.
Use the Firebase console to create a new project by clicking the ‘Add project’ button.

Name your project and then hit ‘Continue.’

In the next step, you can choose whether to link the project with Google Analytics, and once you’ve made your decision, hit the ‘Create project’ button.

The console will then set up the project, which could take a couple of minutes to complete. The following screen will then appear and you can hit ‘Continue.’

From the project dashboard, click the Android icon to add your Android app to the project.

You can then register the app in the following window. Your package name is generally the applicationId in your app-level build.gradle file. The other two fields are optional. When you’re done, click the ‘Register app’ button to complete the process.

Download the config file google-services.json and move it into your Android app module root directory.

You’ll also need to make sure you have Google's Maven repository. Add the following code to the project-level build.gradle (<project>/build.gradle):
buildscript {

    repositories {
      // Make sure that you have the following two repositories
      google()  // Google's Maven repository
      mavenCentral()  // Maven Central repository
    }

    dependencies {
      ...

      // Add the dependency for the Google services Gradle plugin
      classpath 'com.google.gms:google-services:4.3.14'
    }
}

allprojects {
  ...

  repositories {
    // Make sure that you have the following two repositories
    google()  // Google's Maven repository
    mavenCentral()  // Maven Central repository
  }
}
The following code has to be added to the app-level build.gradle (<project>/<app-module>/build.gradle):
plugins {
    id 'com.android.application'

    // Add the Google services Gradle plugin
    id 'com.google.gms.google-services'
    ...
}

dependencies {
  // ...

  // Import the Firebase BoM
  implementation platform('com.google.firebase:firebase-bom:31.1.1')

  // When using the BoM, you don't specify versions in Firebase library dependencies

  // Add the dependency for the Firebase SDK for Google Analytics
  implementation 'com.google.firebase:firebase-analytics'

  // TODO: Add the dependencies for any other Firebase products you want to use
  // See https://firebase.google.com/docs/android/setup#available-libraries
  // For example, add the dependencies for Firebase Authentication and Cloud Firestore
  implementation 'com.google.firebase:firebase-auth'
  implementation 'com.google.firebase:firebase-firestore'
}
Next, sync the gradle changes in the IDE.
You’ll need to edit the app manifest (AndroidManifest.xml) to add message handling capabilities beyond receiving notifications in the background. This will help to receive notifications in foregrounded apps, receive data payloads and send upstream messages, etc. The following code extends FirebaseMessagingService.
<service android:name=".java.MyFirebaseMessagingService" android:exported="false">
  <intent-filter>
    <action android:name="com.google.firebase.MESSAGING_EVENT" />
  </intent-filter>
</service>When a user installs an app for the first time, Firebase SDK generates a registration token. This token is used to target each device and can also be used to create device groups according to various segments.
To retrieve the current token of any device, use the function FirebaseMessaging.getInstance().getToken()
FCM also provides additional functionalities to monitor token generation and prevent auto-initialization, etc.
Firebase provides options to compose notification messages directly from the console. Under the ‘Engage’ tab on the left corner, click on ‘Cloud Messaging.’ If you’re currently testing, make sure the app is installed and running well on the target Android phone.

Click the ‘Send your first message’ button. In the screen that appears, you can provide an optional title, the message content, plus a notification image to be displayed on the notification screen. You’ll see a preview of how it will appear on the Android device on the right side of the console. You can also preview how it will appear in the expanded state by clicking the tab ‘Expanded view.’ Once everything is in order, click the ‘Next’ button.

You can provide the various targeting options on the next screen and then click the ‘Next’ button.

The next screen is for scheduling the date and time. You also have the option of switching between various time zones.

You can provide additional data regarding the notification channel, notification sound, and scheduling timeframe on the next page. Once everything is set up, review your selections and then hit the ‘Publish’ button to send the notification.

There are many push notification functionalities with Firebase, and each one is explained in detail in the documentation.
Beyond Android and Apple, Firebase also works with many other platforms, and these are well-documented by the Firebase team. This additional functionality, along with its wide range of tools and functionalities, allows Firebase Cloud Messaging (FCM) to boost the push notification strategy of your application and makes it a top choice for both developers and marketers alike.
Firebase Cloud Messaging can be complicated for some and may take some time to master. MagicBell’s complete multi-channel notification system, on the other hand, can be launched within an hour, enabling you to send push, email, and in-app notifications to notify users wherever they are and how they prefer. MagicBell supports a seamless notification strategy by syncing notifications across devices and tabs, ensuring that your users never receive the same notification more than once.