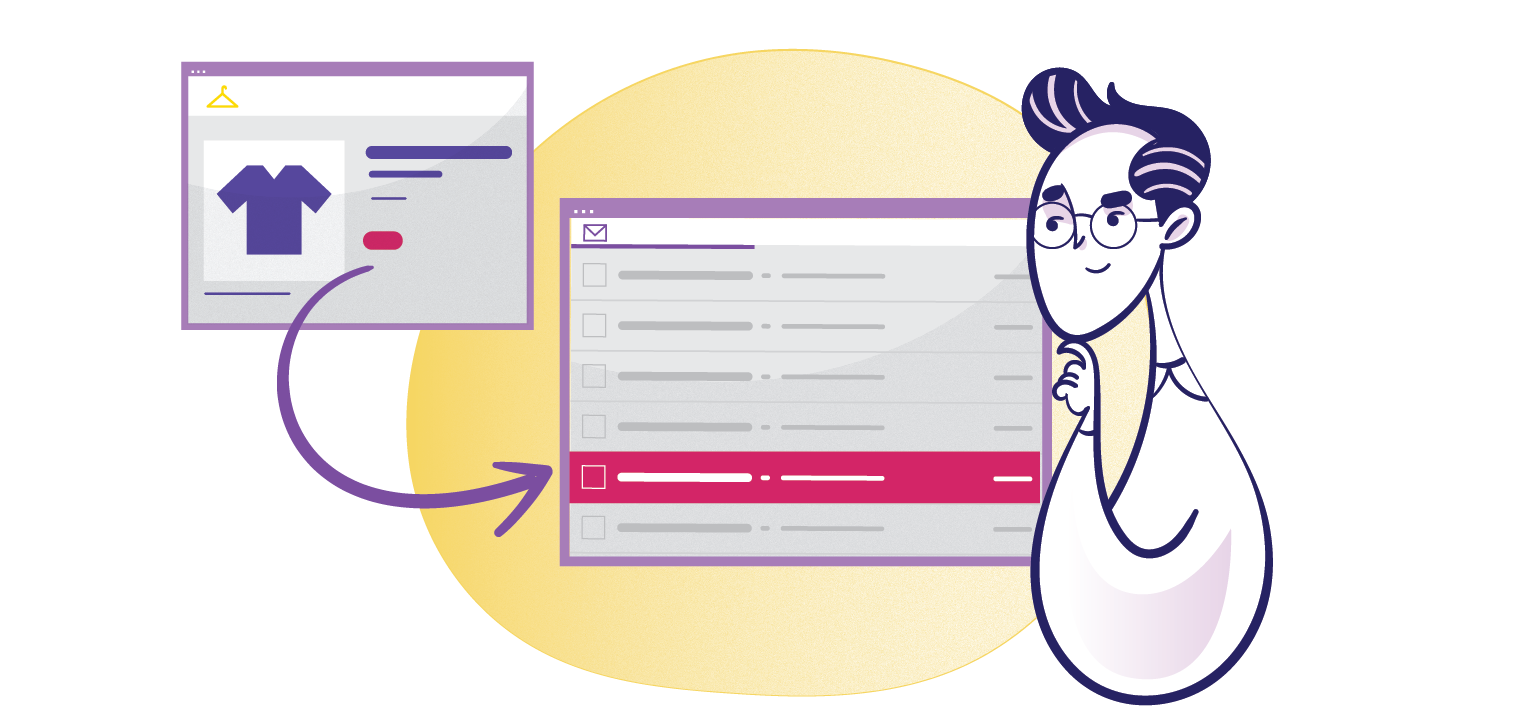
A webhook is an automated HTTP callback that sends real-time data from one application to another when a specific event occurs, such as a payment, a code push, or a new message. The URL that receives this data is called a webhook endpoint. Instead of constantly checking for updates (polling), webhooks push information the moment something happens, giving your application real-time event data without wasting resources.
How Webhooks Work
A webhook follows a simple flow: an event happens, and a server sends an HTTP POST request to a URL you provide. Here is what that looks like step by step.
┌──────────────┐         ┌──────────────────┐         ┌──────────────┐
│              │         │                  │         │              │
│  Event       │────────▶│  Source System    │────────▶│  Your Server │
│  (payment,   │ triggers│  (Stripe, GitHub) │  HTTP   │  (webhook    │
│   push, PR)  │         │                  │  POST   │   endpoint)  │
│              │         │                  │         │              │
└──────────────┘         └──────────────────┘         └──────┬───────┘
                                                             │
                                                             ▼
                                                      Process event
                                                      Return 200 OK
- You register a URL. Tell the source system where to send events. This URL is your webhook endpoint.
- An event occurs. A customer pays an invoice, a developer opens a pull request, or a message arrives.
- The source sends a POST request. The request body contains a JSON payload with event details.
- Your server processes the event. Parse the payload, run your logic, then return a
200 OKstatus code. - The source confirms delivery. If your server does not respond with a 2xx status, most providers retry the request.
That is the entire flow. No polling, no wasted requests, no delays.
What Is a Webhook Endpoint?
A webhook endpoint is the public URL on your server that receives incoming webhook requests. When you register a webhook with a provider like Stripe or GitHub, you give them this URL so they know where to deliver event data.
A good webhook endpoint meets four requirements:
- HTTPS. Webhook payloads often contain sensitive data — customer emails, payment amounts, API keys. Always use TLS. Most providers reject plain HTTP endpoints or flag them as insecure.
- Publicly reachable. The source system must be able to reach your URL from the open internet. During local development, use a tunnel like ngrok to expose your server.
- Fast response. Return a
200 OKwithin 3-5 seconds. If your processing takes longer, acknowledge the request immediately and handle the work in a background job. Providers treat slow responses the same as failures and will retry. - Dedicated path. Use a URL path that clearly identifies the receiver, such as
/webhooksfor a general endpoint or/webhooks/stripeand/webhooks/githubfor per-provider routes. Keeping webhook handling separate from your regular API makes it easier to apply signature verification middleware and rate limiting.
A webhook URL is simply the full address of a webhook endpoint — for example, https://api.example.com/webhooks/stripe.
For implementation details, see Build a Webhook Receiver below. To protect your endpoint from forged requests, see Verify Webhook Signatures.
Webhooks vs Polling
Polling means your application asks "anything new?" on a loop. Webhooks flip this around — the source tells you when something happens.
| Polling | Webhooks | |
|---|---|---|
| Direction | Your app asks the server | Server tells your app |
| Timing | Periodic (every 30s, 1m, 5m) | Instant when event occurs |
| Wasted requests | Most requests return nothing | Only fires when there is data |
| Server load | High (constant requests) | Low (event-driven) |
| Complexity | Simple to implement | Requires a public endpoint |
| Best for | Small datasets, infrequent checks | Real-time updates, high volume |
Use polling when you need data on a schedule or the source does not support webhooks. Use webhooks for everything else.
Anatomy of a Webhook Payload
When a webhook fires, the source sends an HTTP POST request to your URL. Here is what a real Stripe webhook payload looks like:
{
  "id": "evt_1SXJAxIvz5j75Cdbc84ixIMX",
  "object": "event",
  "type": "invoice.payment_failed",
  "created": 1764065326,
  "data": {
    "object": {
      "id": "in_1SXJAtIvz5j75CdbK1yFGg0d",
      "customer": "cus_TUHkz63gW41i4G",
      "amount_due": 2000,
      "currency": "usd",
      "status": "open",
      "attempt_count": 1
    }
  }
}
Every webhook payload shares the same basic structure:
- Event type — What happened (
invoice.payment_failed,push,pull_request.opened). - Timestamp — When it happened.
- Data — The details. For a payment, this includes amount, currency, and customer ID. For a pull request, it includes the title, author, and diff URL.
The request also includes HTTP headers. These carry metadata like content type, delivery IDs, and — critically — signature headers for verification. GitHub uses X-Hub-Signature-256. Stripe uses Stripe-Signature. These headers prove the request came from the real source and was not tampered with.
Build a Webhook Receiver
A webhook receiver is a server endpoint that accepts POST requests from external services. Here is a minimal receiver in Node.js using Express:
const express = require('express');
const app = express();

app.use(express.json());

app.post('/webhooks', (req, res) => {
  const event = req.body;

  console.log(`Received event: ${event.type}`);

  switch (event.type) {
    case 'payment.completed':
      // Send a receipt email
      console.log(`Payment received: $${event.data.amount / 100}`);
      break;
    case 'user.created':
      // Set up the new account
      console.log(`New user: ${event.data.email}`);
      break;
    default:
      console.log(`Unhandled event type: ${event.type}`);
  }

  res.sendStatus(200);
});

app.listen(3000, () => {
  console.log('Webhook receiver running on port 3000');
});
This covers the basics: accept POST requests, parse the JSON body, route by event type, return a 200 status. For a hands-on walkthrough with more examples, see the webhooks tutorial.
Test Locally with cURL
You can test your receiver without a real webhook provider. Send a fake event with cURL:
curl -X POST http://localhost:3000/webhooks \
  -H "Content-Type: application/json" \
  -d '{
    "type": "payment.completed",
    "data": {
      "amount": 4999,
      "currency": "usd",
      "customer_id": "cus_abc123"
    }
  }'
Your server logs should print Payment received: $49.99.
Expose Your Local Server
Webhook providers need a public URL to send requests to. During development, use ngrok to expose your local server:
ngrok http 3000
Copy the generated HTTPS URL (like https://a1b2c3.ngrok.io) and paste it into the webhook settings of your provider. Add /webhooks to the end.
If you just need to inspect the payload without running a local server, try our free webhook tester to capture and view requests in your browser.
Verify Webhook Signatures
Because a webhook endpoint is a publicly accessible URL, anyone can send a POST request to it. Without verification, an attacker could forge webhook payloads and trick your application into processing fake events. This is why webhook providers include a cryptographic signature with every webhook delivery.
The most common pattern is HMAC-SHA256. The provider signs the request body with a shared secret, and you verify the signature on your end.
Here is how signature verification works in Node.js:
const crypto = require('crypto');

function verifySignature(payload, signature, secret) {
  const expected = crypto.createHmac('sha256', secret).update(payload).digest('hex');

  return crypto.timingSafeEqual(Buffer.from(signature), Buffer.from(expected));
}

app.post('/webhooks', (req, res) => {
  const signature = req.headers['x-webhook-signature'];
  const rawBody = JSON.stringify(req.body);

  if (!verifySignature(rawBody, signature, process.env.WEBHOOK_SECRET)) {
    return res.status(401).send('Invalid signature');
  }

  // Signature is valid — process the event
  res.sendStatus(200);
});
Key points for webhook signature verification:
- Use the raw request body, not a re-serialized version. Re-serializing can change whitespace or key order, which breaks the webhook signature.
- Use timing-safe comparison (
crypto.timingSafeEqual). Regular string comparison leaks information through timing differences. - Check timestamps when available. Stripe includes a timestamp in its webhook signature header. Reject events older than 5 minutes to prevent replay attacks.
Different providers use different header names and formats. Here are the most common ones:
| Provider | Signature Header | Algorithm |
|---|---|---|
| Stripe | Stripe-Signature |
HMAC-SHA256 with timestamp |
| GitHub | X-Hub-Signature-256 |
HMAC-SHA256 |
| Twilio | X-Twilio-Signature |
HMAC-SHA1 |
| Shopify | X-Shopify-Hmac-Sha256 |
HMAC-SHA256 (Base64) |
For provider-specific guides, see how to verify Stripe webhooks and GitHub webhooks.
Handle Webhook Retries and Failures
Webhook providers expect a fast response from your webhook endpoint. If your server does not return a 2xx status within a few seconds, the provider assumes webhook delivery failed and retries.
Best practices for handling webhook retries:
- Return 200 immediately. Process the webhook payload asynchronously if it takes more than a few seconds. Acknowledge receipt first, then handle the business logic in a background job.
- Make your webhook handler idempotent. Retries mean your endpoint might receive the same webhook event twice. Use the event ID to track what you have already processed.
- Log failed webhook deliveries. If your server is down, you will miss events. Most providers have a dashboard where you can see failed webhook deliveries and manually retry them.
const processedEvents = new Set();

app.post('/webhooks', (req, res) => {
  const eventId = req.body.id;

  // Skip if already processed
  if (processedEvents.has(eventId)) {
    return res.sendStatus(200);
  }

  processedEvents.add(eventId);
  // Process event...

  res.sendStatus(200);
});
In production, store processed event IDs in a database instead of an in-memory set.
Common Webhook Providers
Most services you integrate with support webhooks as a way to push real-time event data to your application. Here are the most popular webhook providers and what you can do with them:
- Stripe — Payment events like charges, refunds, subscription changes, and invoice failures. Powers payment notifications and failed payment alerts.
- GitHub — Repository events like pushes, pull requests, issues, and CI/CD completions. Supports 73+ event types.
- Slack — Incoming webhooks let you post messages to channels from external services.
- AWS SNS — Cloud infrastructure events like alarms, deployment status, and service health changes.
- Twilio — SMS delivery receipts, incoming messages, and call status updates.
For tools that help manage webhook infrastructure at scale, see the guide to open-source webhook services.
Webhooks vs APIs
Webhooks and APIs solve different problems. An API lets you request data on demand. A webhook delivers data when something happens. Many systems use both together.
API (Pull):
Your App ──── "Any new orders?" ────▶ Server
Your App ◀──── "No." ──────────────── Server
Your App ──── "Any new orders?" ────▶ Server
Your App ◀──── "Yes, here's one." ─── Server

Webhook (Push):
Server ──── "New order just placed" ────▶ Your App
Use APIs when you need data on demand (loading a user profile, searching products). Use webhooks when you need to react to events in real time (payment received, code pushed, message sent). Most production systems combine both: a webhook triggers an action, and an API call fetches additional data when needed.
Webhook Best Practices
Follow these rules to build reliable webhook integrations:
- Always use HTTPS. Webhook payloads often contain sensitive data like customer information or payment details. Never accept webhook deliveries over plain HTTP.
- Verify every webhook request. Check the HMAC signature before processing any webhook payload. Reject unsigned or incorrectly signed requests.
- Respond fast. Return a 200 status from your webhook endpoint within 3 seconds. Move heavy processing to a background queue.
- Handle duplicates. Store processed webhook event IDs and skip events you have already handled.
- Log everything. Record the event type, timestamp, and processing result for every webhook delivery. This makes debugging much easier when something goes wrong.
- Set up monitoring. Track your webhook endpoint's response time, error rate, and queue depth. Alert on failures so you can fix issues before they affect users.
- Use a dedicated webhook endpoint. Do not mix webhook handling with your regular API routes. A separate
/webhookspath makes it easier to apply middleware, rate limiting, and monitoring.
Next Steps
Now that you understand how webhooks work, dive deeper with these guides:
- Webhooks tutorial — Build a complete webhook integration from scratch.
- Stripe webhooks guide — Handle payment events with signature verification.
- GitHub webhooks guide — Set up repository webhook notifications for pushes, PRs, and CI runs.
- Create a Slack webhook URL — Send messages to Slack channels from any service.
- DynamoDB Streams real-time notifications guide — Trigger notifications from database changes using AWS Lambda.
To send webhook-triggered notifications across Slack, email, push, and in-app from a single API, check out MagicBell.