Amazon SES Channel Provider
Configuration
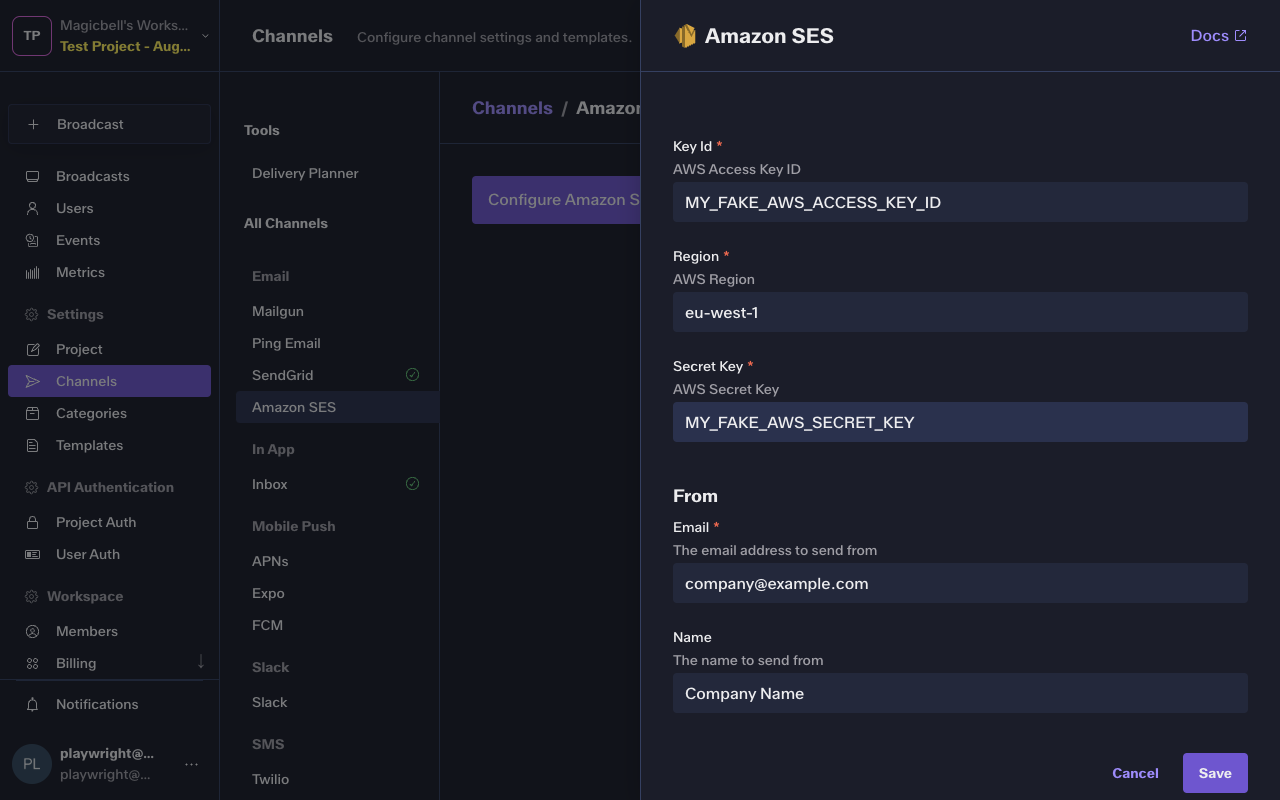
To configure the Amazon SES integration, you'll need the following data:
| Parameter | Type | Description |
|---|---|---|
| key_id | string * | AWS Access Key ID |
| secret_key | string * | AWS Secret Key |
| region | string * | AWS Region |
| from | object | |
| string * | The email address to send from | |
| └ name | The name to send from |
In the Dashboard
The easiest way to configure this integration is through the MagicBell dashboard:
- Log in to your MagicBell dashboard.
- Navigate to Channels.
- Find and click on this channel name in the sidebar.
- Click the Configure Amazon SES button.
- Follow the on-screen instructions to complete the configuration.
Using the API
Use the API to save , list and delete Amazon SES. For example, to save the integration:
Request
curl --request PUT \
  --url 'https://api.magicbell.com/v2/integrations/ses' \
  --header 'content-type: application/json' \
  --header "authorization: Bearer $TOKEN" \
  --data '{"key_id":"MY_FAKE_AWS_ACCESS_KEY_ID","secret_key":"MY_FAKE_AWS_SECRET_KEY","region":"eu-west-1","from":{"name":"Company Name","email":"company@example.com"}}'
Usage
1. When configured with
{
  "from": {
    "email": "company@example.com",
    "name": "Company Name"
  },
  "key_id": "MY_FAKE_AWS_ACCESS_KEY_ID",
  "region": "eu-west-1",
  "secret_key": "MY_FAKE_AWS_SECRET_KEY"
}
2. With a channel token
{
  "address": "dan@example.com",
  "name": "Dan"
}
3. With Broadcast
{
  "action_url": "https://example.com",
  "category": "example",
  "content": "I come from broadcast",
  "custom_attributes": {},
  "id": "d1b3b3b3-3b3b-3b3b-3b3b-3b3b3b3b3b3b",
  "overrides": {},
  "recipients": [
    {
      "custom_attributes": {
        "plan": "enterprise",
        "preferred_pronoun": "They",
        "pricing_version": "v10"
      },
      "email": "test@example.com",
      "external_id": "83d987a-83fd034",
      "first_name": "Person",
      "last_name": "Doe",
      "phone_numbers": [
        "+1 5005550001"
      ]
    }
  ],
  "title": "Hello, World!",
  "topic": "example"
}
The channel handler triggers a HTTP request
POST https://email.eu-west-1.amazonaws.com/v2/email/outbound-emailsWith payload
{
  "Content": {
    "Simple": {
      "Body": {
        "Html": {
          "Charset": "UTF-8",
          "Data": "I come from broadcast"
        }
      },
      "Subject": {
        "Charset": "UTF-8",
        "Data": "Hello, World!"
      }
    }
  },
  "Destination": {
    "ToAddresses": [
      "\u003cdan@example.com\u003e"
    ]
  },
  "FromEmailAddress": "\"Company Name\" \u003ccompany@example.com\u003e"
}
Overrides
The provider overrides key in the broadcast payload can be used to change the default behavior of the channel handler.
overrides >> providers >> ses
Overrides without Destination key
Overrides
{
  "providers": {
    "ses": {
      "ConfigurationSetName": "SES-Email-Tracking",
      "Content": {
        "Simple": {
          "Body": {
            "Html": {
              "Charset": "UTF-8",
              "Data": "html body"
            }
          },
          "Subject": {
            "Charset": "UTF-8",
            "Data": "Your report is ready!"
          }
        }
      },
      "EmailTags": [
        {
          "Name": "Magicbell",
          "Value": "notifications"
        },
        {
          "Name": "NotificationSource",
          "Value": "scans"
        }
      ]
    }
  }
}
Payload
{
  "ConfigurationSetName": "SES-Email-Tracking",
  "Content": {
    "Simple": {
      "Body": {
        "Html": {
          "Charset": "UTF-8",
          "Data": "html body"
        }
      },
      "Subject": {
        "Charset": "UTF-8",
        "Data": "Your report is ready!"
      }
    }
  },
  "Destination": {
    "ToAddresses": [
      "\u003cdan@example.com\u003e"
    ]
  },
  "EmailTags": [
    {
      "Name": "Magicbell",
      "Value": "notifications"
    },
    {
      "Name": "NotificationSource",
      "Value": "scans"
    }
  ],
  "FromEmailAddress": "\"Company Name\" \u003ccompany@example.com\u003e"
}
With SES template tags
Overrides
{
  "providers": {
    "ses": {
      "ConfigurationSetName": "SES-Email-Tracking",
      "Content": {
        "Simple": {
          "Body": {
            "Html": {
              "Charset": "UTF-8",
              "Data": "html body"
            }
          },
          "Subject": {
            "Charset": "UTF-8",
            "Data": "Your company Scan Results"
          }
        }
      },
      "Destination": {
        "ToAddresses": [
          "example@gmail.com"
        ]
      },
      "EmailTags": [
        {
          "Name": "Magicbell",
          "Value": "notifications"
        },
        {
          "Name": "NotificationSource",
          "Value": "scans"
        }
      ],
      "FromEmailAddress": "company \u003cnoreply@company.com\u003e"
    }
  }
}
Payload
{
  "ConfigurationSetName": "SES-Email-Tracking",
  "Content": {
    "Simple": {
      "Body": {
        "Html": {
          "Charset": "UTF-8",
          "Data": "html body"
        }
      },
      "Subject": {
        "Charset": "UTF-8",
        "Data": "Your company Scan Results"
      }
    }
  },
  "Destination": {
    "ToAddresses": [
      "example@gmail.com"
    ]
  },
  "EmailTags": [
    {
      "Name": "Magicbell",
      "Value": "notifications"
    },
    {
      "Name": "NotificationSource",
      "Value": "scans"
    }
  ],
  "FromEmailAddress": "company \u003cnoreply@company.com\u003e"
}