Postmark Integration
Deliver email notifications with your Postmark account
To configure Postmark for your MagicBell project, follow these steps:
- Sign up for Postmark and obtain a server API token.
- Verify your sender signature in Postmark.
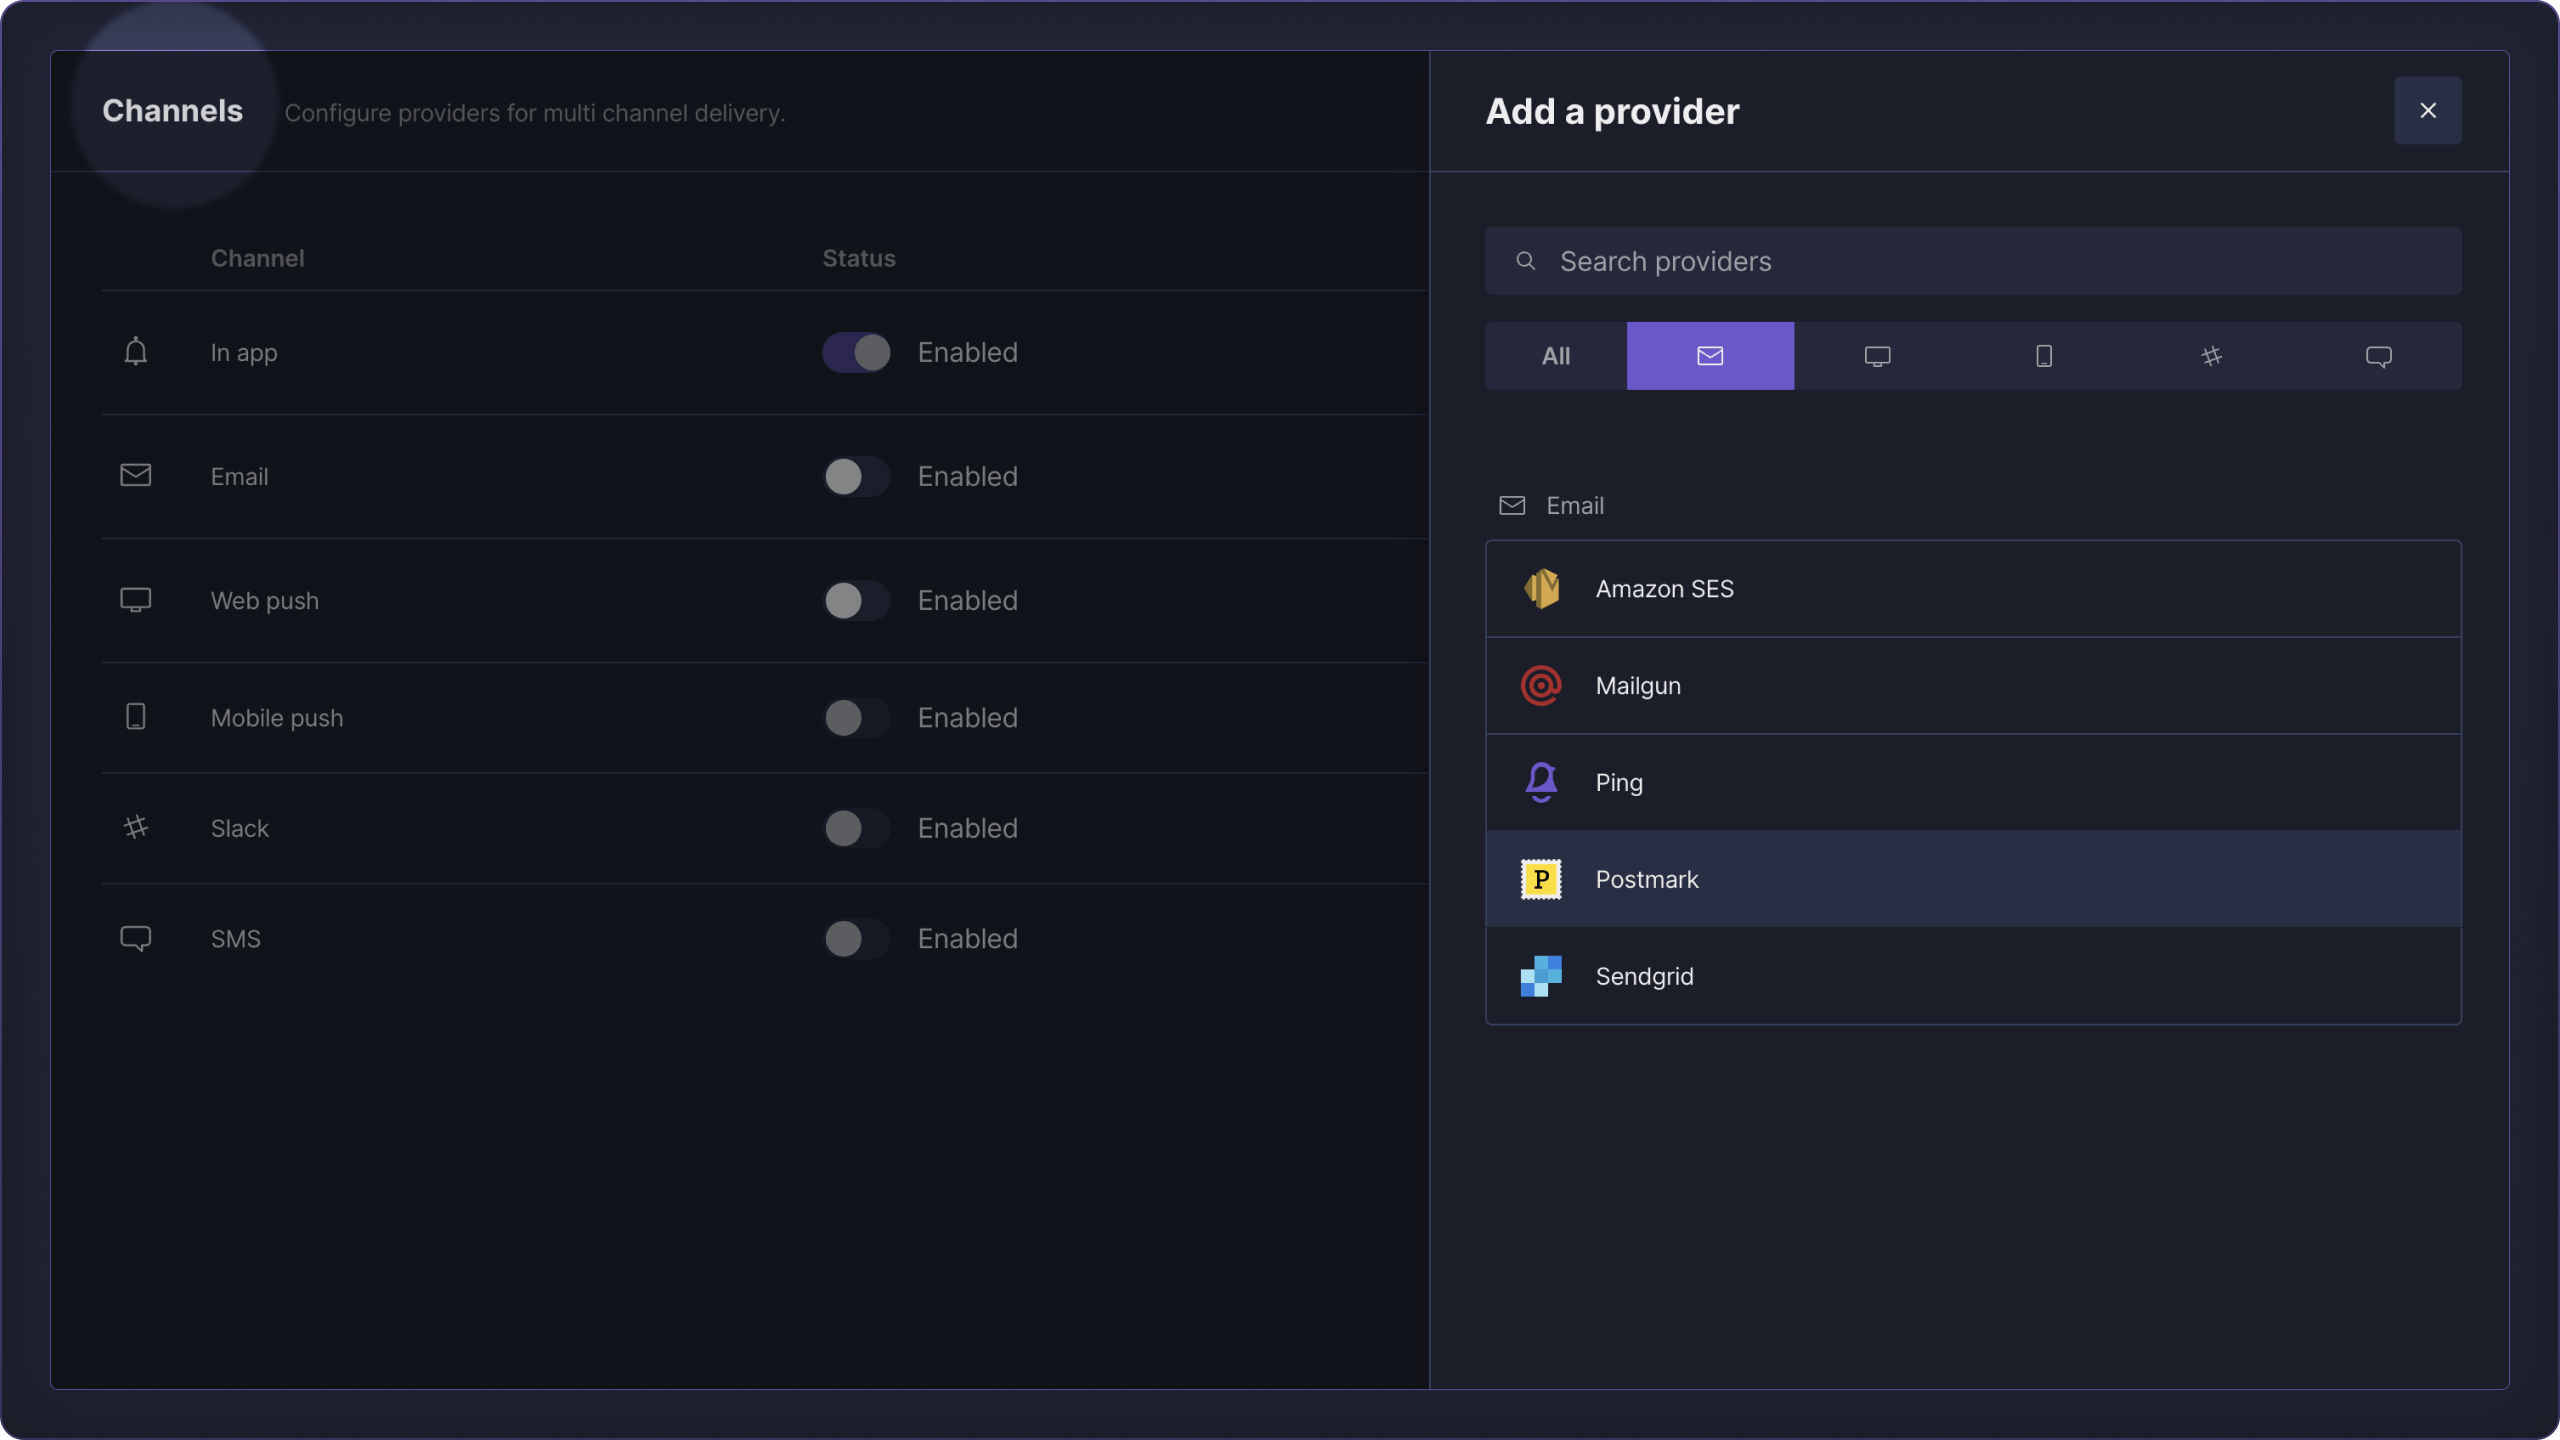
- From the Settings → Channels page in your dashboard, select Add Provider → Postmark.
- Enable the provider and enter the API key from step 1 then click Save.
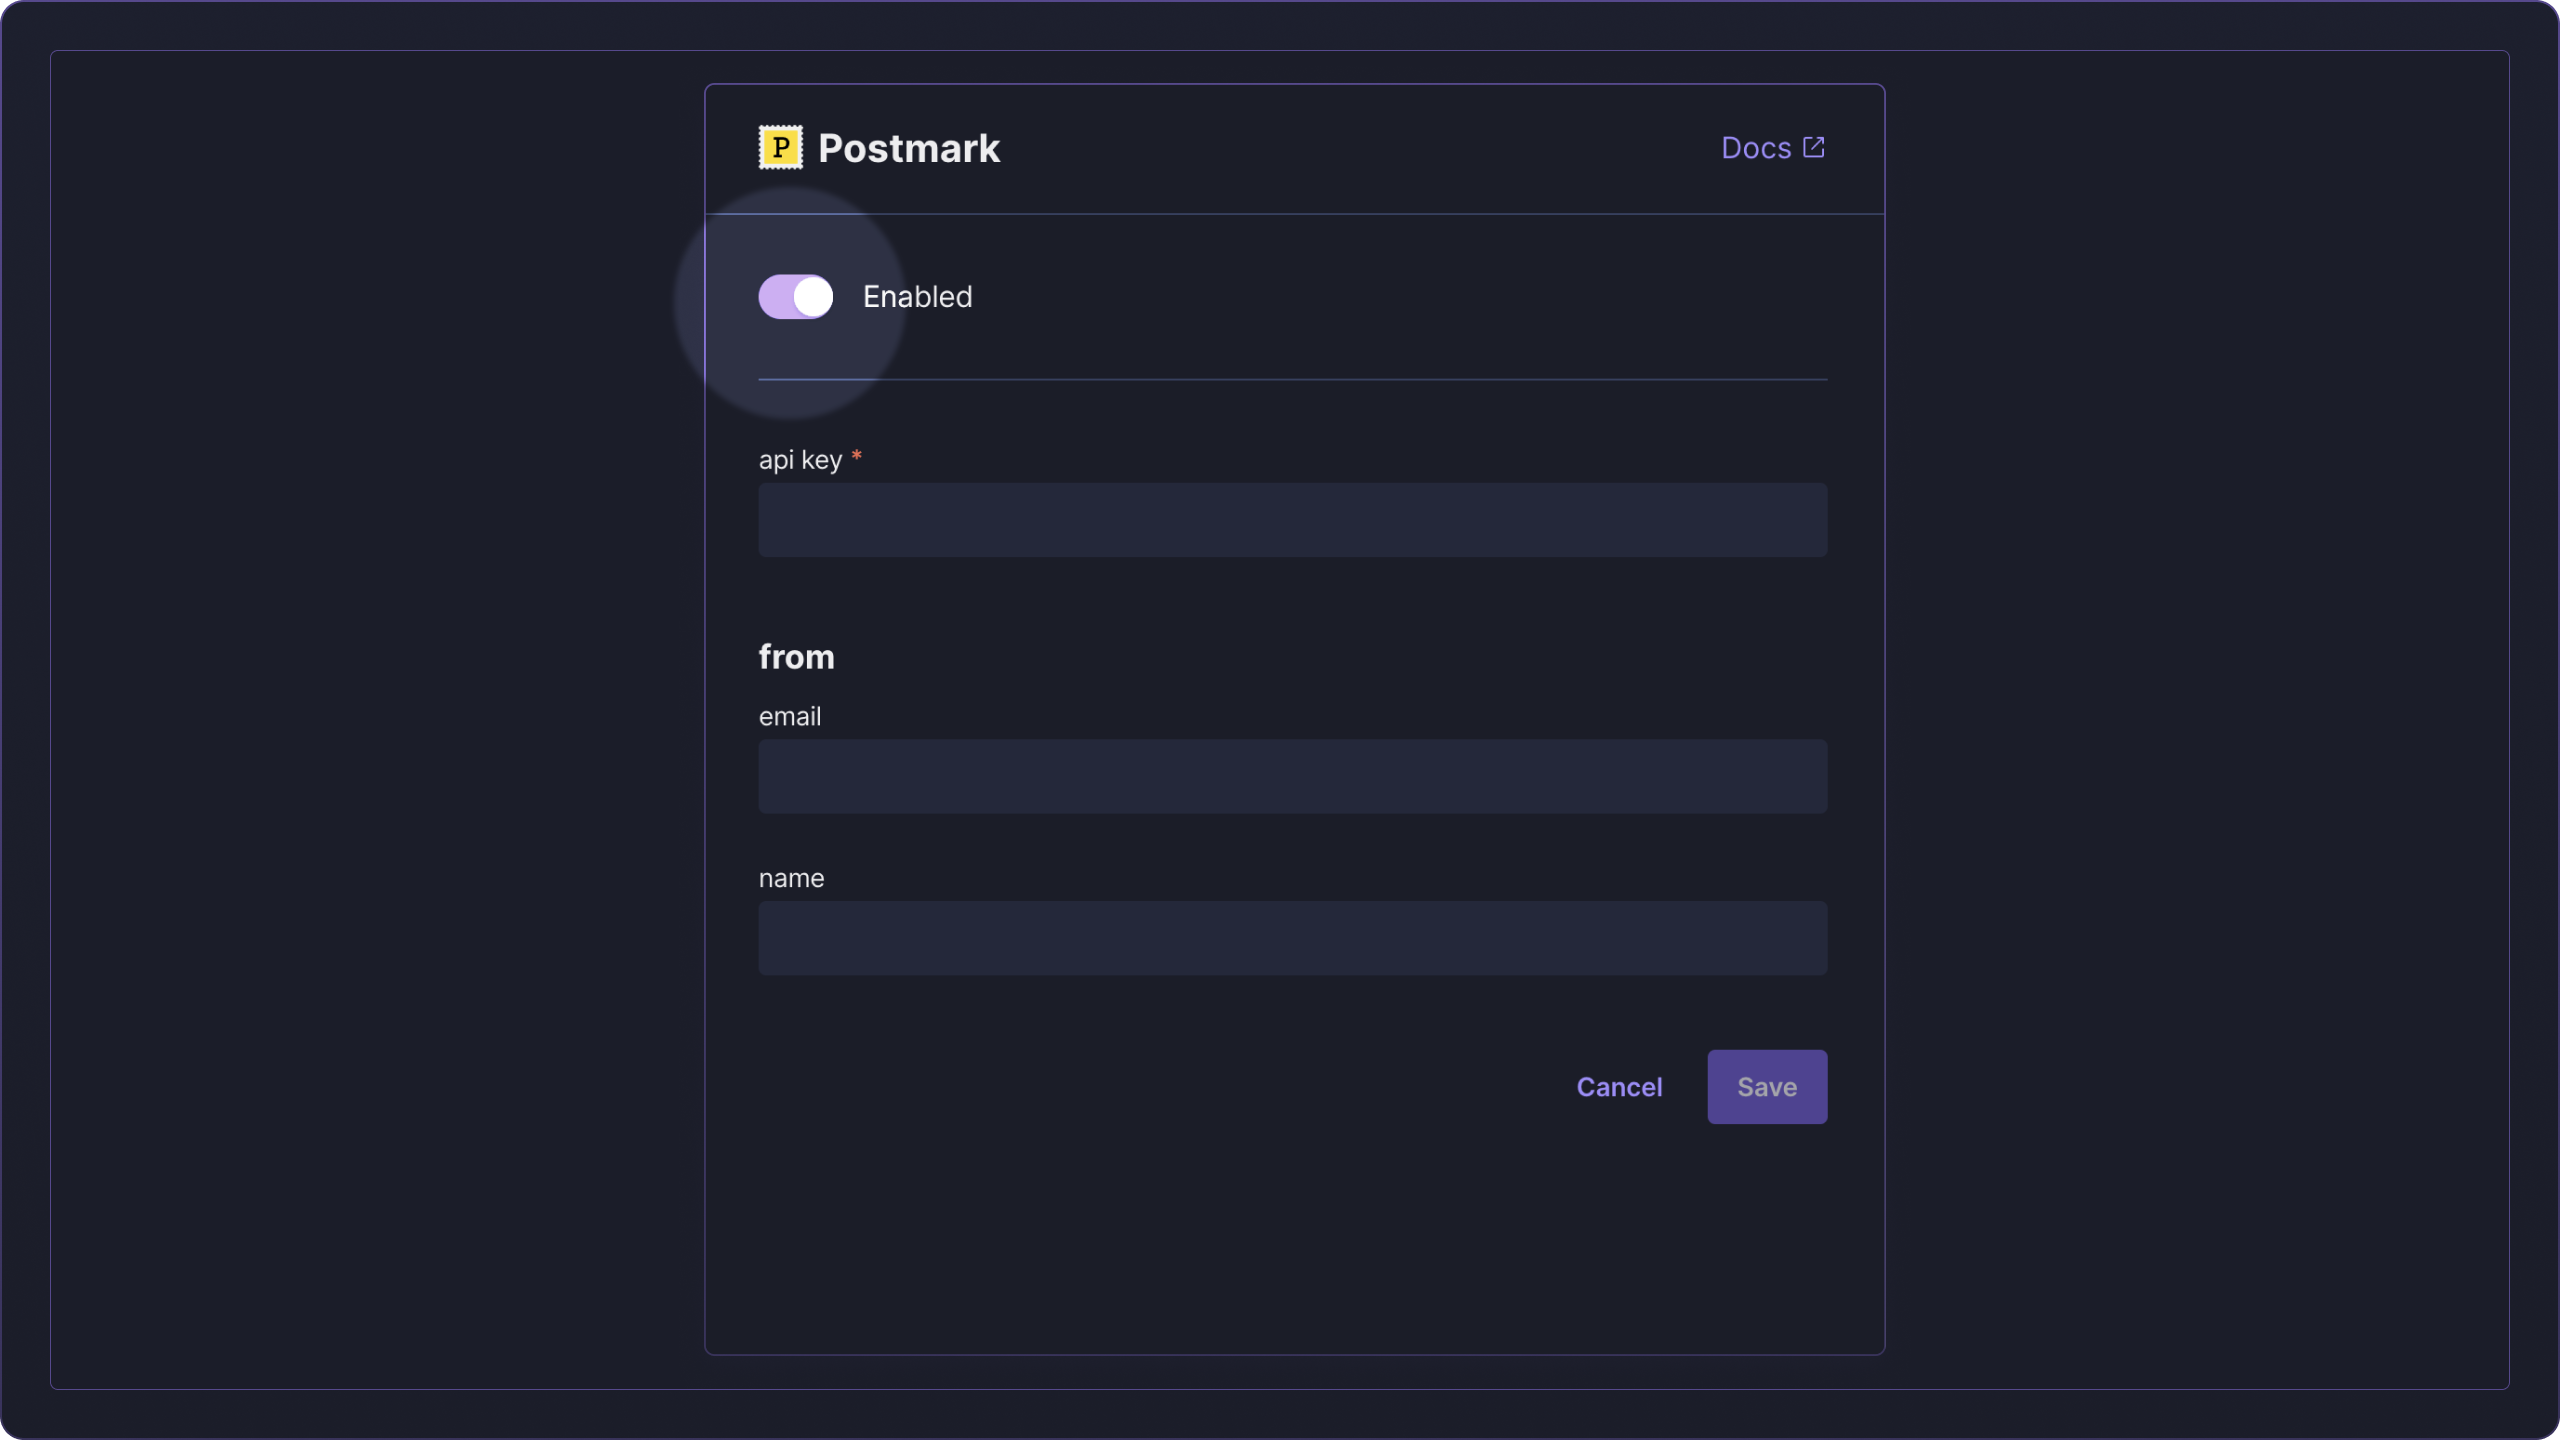
You can optionally configure a custom from email address (verified sender signature) and name.
Once your account is set up, MagicBell will automatically deliver email notifications through your Postmark account, no additional work is needed.
Please keep in mind that MagicBell automatically injects both notification_id and broadcast_id in the metadata of messages sent to Postmark.
Provider Overrides
Our create notifications endpoint allows you to customize the payload sent to Postmark by setting notification.overrides.
The notification.overrides.postmark parameter accepts all the body parameters of Postmark's Email API.
Provider-specific parameters in notification.overrides take precedence over the ones specified in notification.
Example: Tag an email and set a custom header
<Snippets
params={{
notification: {
title: 'Welcome to MagicBell',
content: 'The notification inbox for your product. Get started in minutes.',
category: 'signup',
action_url: 'https://developer.magicbell.com',
recipients: [
{
email: 'dan@example.com',
},
],
overrides: {
providers: {
postmark: {
Tag: 'signup',
Headers: {
'X-Original-To': 'devs@example.com',
},
},
},
},
},
}}
/>
Email us if you wish to use Postmark templates!