Push notifications are a powerful tool for keeping users engaged, informed, and coming back to your app for more. Whether it's a timely reminder, an exciting update, or a personalized message, push notifications significantly improve the user experience while boosting retention. App developers utilize the Apple Push Notification Service (APNs) to efficiently send notifications to their applications on Apple devices, highlighting its importance and security features across various Apple platforms.
Best of all, push notifications are available on nearly all browsers, devices, and operating systems. However, Apple iOS has more requirements for push notifications, so it’s critical for businesses and developers to understand these differences. iOS is notorious for its stringent security requirements and user-first privacy controls, so design push notifications for your iOS app with these requirements in mind. Accessing the Apple developer portal is essential for setting up push notifications, as it involves creating App IDs, provisioning profiles, and necessary certificates.
In this guide, we'll give you a comprehensive, step-by-step guide to implementing push notifications for iOS apps. This tutorial will walk you through the entire process, from setting up the necessary configurations and writing the code to testing and troubleshooting. Before diving into iOS-specific implementation, reviewing notification system design architecture principles will help you plan a scalable, reliable notification infrastructure that works across all platforms.
Understanding Push Notifications for iOS
Photo by Lala Azizli from Unsplash
Push notifications are messages sent from an app server to users' devices, prompting them to take action. Unlike in-app notifications, push notifications reach users even when they aren't actively using your app.
They can appear on lock screens, notification centers, or as banners. For iOS apps, push notifications rely on the Apple Push Notification service (APNs), which routes these messages from your server to the target devices. The badge number associated with the app icon communicates important information to users, such as the number of unread notifications, enhancing user engagement and experience.
At a high level, iOS push notifications follow a three-step process:
- Server-side setup: You set up a server that delivers a notification payload to the Apple Push Notification service.
- APNS delivery: The APNs processes and routes the notification to the user’s device.
- Receipt: The notification displays on the target device based on the user’s notification settings. Notification badges appear on the app icon on the home screen, indicating updates or unread notifications.
This process is relatively straightforward, but remember that iOS push notifications must follow more stringent requirements than Android notifications. iOS implementation also has to account for:
- User permissions:Android automatically subscribes users to app notifications, but iOS requires an opt-in for each app. Users must explicitly grant permission for push notifications, which can decrease your subscriber list size.
- Device tokens: Every device generates a unique token that you have to register with your server to receive notifications.
- Notification types:iOS supports various notification styles, including banners, alerts, sounds, and badge updates. Your message content and format need to work well with these notification types.
Although iOS mobile push notifications have a few more requirements and considerations, they're still worth your time. Push notifications offer several advantages that make them an essential feature for enhancing user engagement and retention, including:
- Improved user engagement
- Subscriber retention
- Better user experience
- Personalization
- Higher conversion rates
Setting up iOS push notifications is a technical process. Still, with the right toolkit and processes, developers can build effective push notifications that keep users coming back to your iOS app.
When building a complete notification strategy for iOS apps, consider how push notifications complement other channels. While push notifications are perfect for time-sensitive updates and engagement, transactional email examples show how email excels at delivering receipts, account confirmations, and detailed transaction information that users need to reference later. A banking app, for instance, might use push notifications for fraud alerts while sending detailed transaction receipts via email—giving users both immediate awareness and a permanent record.
Device Tokens and Registration
Device tokens are unique identifiers assigned to a specific app on a user’s device, acting as the key to send push notifications to the target device. To start, your app must request permission from the user to receive push notifications. This is a crucial step, as without user consent, the app cannot proceed with push notifications.
Once permission is granted, the app registers with the Apple Push Notification Service (APNs) to obtain a device token. This token is then used to send push notifications directly to the user’s device. Handling device tokens securely is paramount; they should be stored on your server to manage notifications effectively. This ensures that you can send push notifications to the correct devices and maintain a seamless communication channel with your users.
6 Steps to Integrate Push Notifications Into an iOS App
Photo by Brett Jordan from Pexels
Integrating push notifications into your iOS app involves several processes, from initial setup to implementation and testing. Follow these steps to set up push notifications for your iOS app.
It is important to craft the notification payload in a JSON format that aligns with the specifications of various push notification services, such as APNS and FCM, to ensure effective delivery.
1. Lay the Foundation
Start by getting your ducks in a row. To get started with integrating push notifications into your iOS app, you’ll need the following tools and software:
- Xcode: This is the official IDE for iOS development, which you can download from the Mac App Store. Importing the UserNotifications framework in Xcode is essential before implementing the necessary code to request user permissions for notifications.
- Apple Developer Account: You’ll need this account to access Apple’s developer resources and deploy apps on Apple devices. Visit developer.apple.com, create an account, and join the Apple Developer Program. Once enrolled, you’ll have access to all of Apple’s development tools.
- Physical iOS device: Okay, this isn't technically mandatory, but it's a really good idea. iOS simulators often don't give you the complete picture during testing, so a physical iOS device is helpful for testing push notifications. (If you’re setting up push notifications for a Progressive Web App, check out webpushtest.com for a demo of standards based web push notifications across all platforms, including iOS.)
2. Set up a Project
Now that you have the necessary tools and an Apple Developer account, it’s time to set up your iOS project in Xcode. Launch Xcode and click on “Create a new Xcode project” or select File > New > Project > App from the menu bar.
It is essential to access the Apple developer portal to create App IDs and provisioning profiles, which are necessary for configuring your project.
Configure your project by filling out these details:
- Product Name: Enter a name for your app.
- Team: Select your Apple Developer account.
- Organization Name: Enter your organization or personal name.
- Organization Identifier: Enter a unique identifier, typically in reverse domain format (like com.example.myapp).
- Interface: Choose “Storyboard” or “SwiftUI” based on your preference.
- Language: Select “Swift“ as the programming language.
Now that you’ve set up the project, you’ll need to enable push notifications. Go to the project settings tab > Capabilities. Check the boxes and toggles to turn on Push Notifications, Background Modes, and Remote Notifications.
3. Configure Apple Push Notification Service (APNs)
To send push notifications to your iOS app, you need to configure the Apple Push Notification service (APNs). This involves registering your app with APNs, creating a push notification certificate, and generating an APNs Auth Key.
Visit the Apple Developer Console and sign in. Create an App ID and use it to create a push notification certificate. From there, you'll generate a Certificate Signing Request (CSR). Once the system generates a certificate for you, download it and install it in Keychain Access. Save the certificate as a .p12 file, providing a password when prompted.
Next, go to Keys in the Apple Developer Console. Create a new key and download the Auth Key as a .p8 file. This file is only available for download once, so keep it somewhere safe!
4. Set up Push Notifications for Your iOS App
With the foundational setup complete, it’s time to integrate push notifications into your iOS app by updating your code. The ‘AppDelegate’ file responds to application-level events like push notifications, so this is where you’ll make most of the changes.
Add the following import statement at the top of your AppDelegate.swift file:
import UserNotifications
Register your app for push notifications using the application(_:didFinishLaunchingWithOptions:) method:
func application(_ application: UIApplication, didFinishLaunchingWithOptions launchOptions: [UIApplication.LaunchOptionsKey: Any]?) -> Bool {
    // Override point for customization after application launch.
    UNUserNotificationCenter.current().delegate = self
    registerForPushNotifications()
    return true
}
func registerForPushNotifications() {
    UNUserNotificationCenter.current().requestAuthorization(options: [.alert, .sound, .badge]) { granted, error in
        print("Permission granted: \(granted)")
        guard granted else { return }
        self.getNotificationSettings()
    }
}
func getNotificationSettings() {
    UNUserNotificationCenter.current().getNotificationSettings { settings in
        print("Notification settings: \(settings)")
        guard settings.authorizationStatus == .authorized else { return }
        DispatchQueue.main.async {
            UIApplication.shared.registerForRemoteNotifications()
        }
    }
}
Including the notification's title in the payload is crucial for effective communication, as it forms part of the alert object that users see on their devices.
Next, you’ll set up device token registration for remote notifications:
func application(_ application: UIApplication, didRegisterForRemoteNotificationsWithDeviceToken deviceToken: Data) {
    let tokenParts = deviceToken.map { data in String(format: "%02.2hhx", data) }
    let token = tokenParts.joined()
    print("Device Token: \(token)")
}
func application(_ application: UIApplication, didFailToRegisterForRemoteNotificationsWithError error: Error) {
    print("Failed to register: \(error)")
}
Now it’s time to request permission from the user to send notifications. This is a crucial step you take using the ‘registerForPushNotifications()’ method:
UNUserNotificationCenter.current().requestAuthorization(options: [.alert, .sound, .badge]) { granted, error in
    print("Permission granted: \(granted)")
    guard granted else { return }
    self.getNotificationSettings()
}
The app receives a device token when it successfully registers for remote notifications. This token must be sent to your server to send push notifications to this device:
func application(_ application: UIApplication, didRegisterForRemoteNotificationsWithDeviceToken deviceToken: Data) {
    let tokenParts = deviceToken.map { data in String(format: "%02.2hhx", data) }
    let token = tokenParts.joined()
    print("Device Token: \(token)")
    // Send the token to your server
}
Finally, you must conform to the UNUserNotificationCenterDelegate protocol to handle incoming notifications. Set the UNUserNotificationCenter delegate in the didFinishLaunchingWithOptions method:
UNUserNotificationCenter.current().delegate = self
Implement the userNotificationCenter(:willPresent:withCompletionHandler:) and userNotificationCenter(:didReceive:withCompletionHandler:) methods to handle notifications while the app is in the foreground and background, respectively:
extension AppDelegate: UNUserNotificationCenterDelegate {
    func userNotificationCenter(_ center: UNUserNotificationCenter, willPresent notification: UNNotification, withCompletionHandler completionHandler: @escaping (UNNotificationPresentationOptions) -> Void) {
        let userInfo = notification.request.content.userInfo
        // Handle the notification content here
        print("Foreground Notification received: \(userInfo)")
        completionHandler([.alert, .sound, .badge])
    }
    func userNotificationCenter(_ center: UNUserNotificationCenter, didReceive response: UNNotificationResponse, withCompletionHandler completionHandler: @escaping () -> Void) {
        let userInfo = response.notification.request.content.userInfo
        // Handle the notification response here
        print("Background Notification received: \(userInfo)")
        completionHandler()
    }
}
5. Start Sending Notifications
The most intensive coding is done, so pat yourself on the back! Now that you've set up the iOS app to receive push notifications, it's time to send them.
There are a lot of push notification services out there, but Firebase Cloud Messaging (FCM) is one of the most popular options. This cross-platform messaging solution allows you to send notifications with less hassle.
To get started, you'll need an FCM account. Create a new project and add your iOS app to the project. Register your app with the iOS bundle ID, download the GoogleService-Info.plist file, and add it to your Xcode project. Make sure to add it to the root directory of your project.
From there, import Firebase in your AppDelegate.swift file:
import Firebase
Next, configure Firebase in the application(_:didFinishLaunchingWithOptions:) method:
func application(_ application: UIApplication, didFinishLaunchingWithOptions launchOptions: [UIApplication.LaunchOptionsKey: Any]?) -> Bool {
    FirebaseApp.configure()
    UNUserNotificationCenter.current().delegate = self
    registerForPushNotifications()
    return true
}
Extend AppDelegate to conform to MessagingDelegate:
import Firebase
extension AppDelegate: MessagingDelegate {
    func messaging(_ messaging: Messaging, didReceiveRegistrationToken fcmToken: String?) {
        print("FCM Token: \(String(describing: fcmToken))")
        // Send the FCM token to your server
    }
}
Set the Messaging delegate in the application(_:didFinishLaunchingWithOptions:) method:
Messaging.messaging().delegate = self
6. Test and Troubleshoot
You’ve worked hard to set up iOS push notifications, but you should always double-check your work before sending messages to real users. iOS simulators are a popular option, but they won’t work for testing push notifications, so it’s best to test this on an actual iOS device.
To manage and customize received notifications on various Apple devices, including the iPhone and iPad, you can view notifications on the Lock Screen, utilize Notification Center to review notification history, and adjust settings to prioritize important alerts.
There's also a Push Notifications Console within the Apple Developer Console that allows you to send test notifications to Apple devices through APNs. And if you're setting up push notifications for an iOS PWA, webpushtest.com is an excellent free tool. Use your chosen push notification service to send a test notification to your device.
Problems are common with web development, and push notifications are no exception. Every app has its quirks, but here are some common issues to look for:
- Push notifications not going through: Check the app permissions, verify device tokens, and ensure you correctly configured the APNs certificate or key and it's still valid. Check the console logs for any errors related to push notifications.
- APNs issues: Ensure the notification payload is valid and complies with APNs requirements. Make sure your APNs certificate or key is correctly configured and not expired.
- FCM debugging: Verify that your app is correctly configured in the Firebase Console and ensure the FCM token is correctly registered to the device.
Handling Remote Notifications
Remote notifications are sent by your server to the user’s device through the Apple Push Notification Service (APNs). To handle these notifications, your app must implement the necessary methods to receive and process the notification data. This involves configuring your app to handle the notification payload correctly, ensuring that the user receives the intended message.
When a remote notification arrives, your app can use this data to display the notification to the user or perform other actions, such as updating the app’s content. Proper handling of remote notifications is crucial to ensure that the app behaves as expected and provides a smooth user experience.
Local Notifications
Local notifications are scheduled by the app to be displayed at a specific time or interval, making them ideal for reminding users of events or tasks. To create a local notification, your app must specify the notification’s content, trigger, and other relevant details. This includes setting the notification’s title, body, and the time it should be displayed.
Once configured, the app schedules the notification to be displayed at the specified time or interval. Local notifications are an effective way to engage with users, providing timely reminders or updates that keep them coming back to your app.
Security and Authentication
Security and authentication are critical components of push notifications. To send push notifications, your app must authenticate with the Apple Push Notification Service (APNs) using a private key and certificate. This ensures that only authorized apps can send notifications to users.
Additionally, it’s essential to handle notification data securely. This includes storing the user’s device token securely on your server and implementing measures to prevent unauthorized access to this data. By ensuring that notifications are delivered to the intended device and protecting user data, you can maintain the integrity and security of your push notification service.
Perfecting Push Notifications in Your iOS App
Push notifications are a powerful tool for increasing user engagement and retention for iOS apps. They require a few more steps than push notifications for Android devices, but iOS push notifications offer a much-needed lifeline between a business and its users. For React Native developers using Expo, our Expo push notifications guide provides a simplified approach to iOS push setup.
iOS updates allow users to manage how notifications are prioritized through settings for customizing time sensitive notifications to ensure critical alerts are highlighted in a timely manner.
You may need to get creative and customize implementation for your business’s unique needs. Still, the steps in this guide will set you up for iOS success.
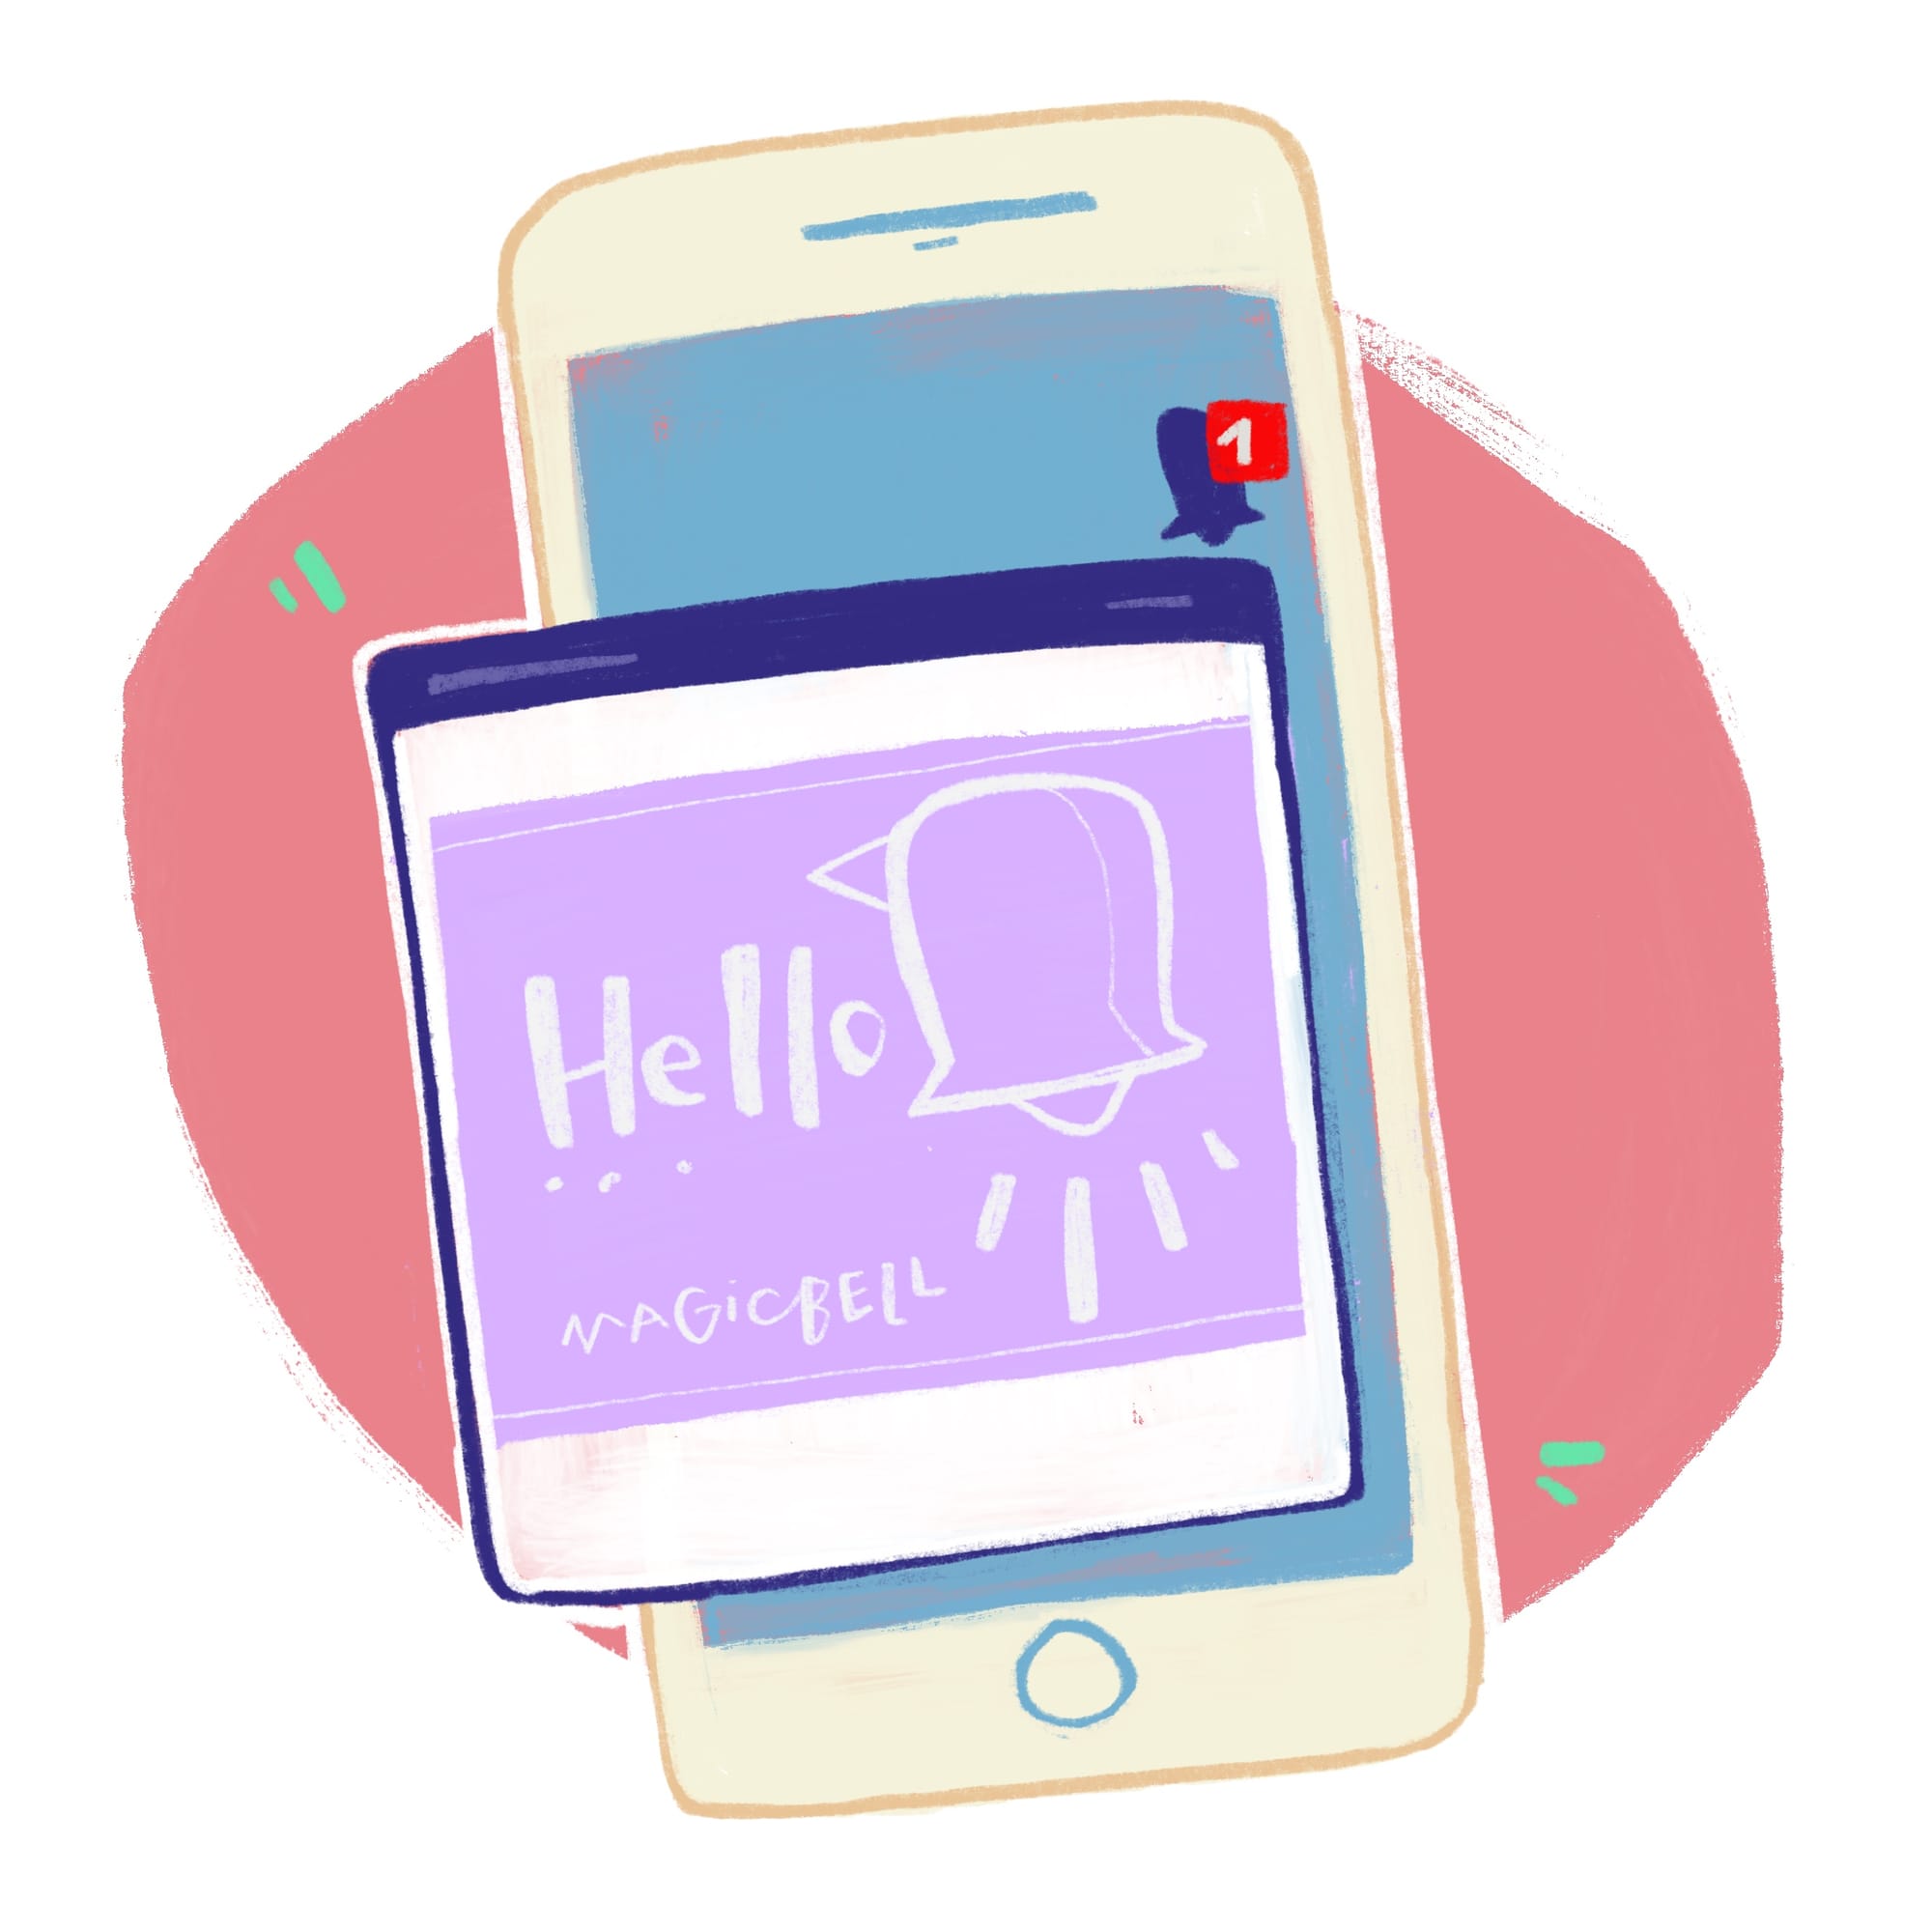
But we’re willing to bet your users aren’t just active on iOS devices. They’re also on Slack, email, and other channels. Instead of creating push notifications for every single channel, go with MagicBell’s all-in-one solution. Create your free account now to start sending notifications in under an hour.
Best Practices for Push Notifications
To maximize the effectiveness of push notifications, it’s essential to follow best practices. Start by obtaining the necessary permissions from the user, ensuring they are fully aware and consenting to receive notifications. Handle device tokens securely, storing them on your server to manage notifications effectively.
Send relevant and timely notifications to keep users engaged. Your app should also provide a way for users to manage notifications, such as disabling notifications or customizing notification settings. Use a clear and concise notification style, and provide a clear call-to-action to engage the user.
Key terms to keep in mind include:
- Apple Push Notification Service (APNs): The service used to send push notifications to iOS devices.
- Device Token: A unique identifier assigned to a specific app on a user’s device.
- Remote Notifications: Notifications sent by the server to the user’s device through APNs.
- Local Notifications: Notifications scheduled by the app to be displayed at a specific time or interval.
- Notification Settings: The settings that control how notifications are displayed and managed on the user’s device.
- Notification Permissions: The permissions required to send push notifications to the user’s device.
- Priority Notifications: Notifications that are marked as high-priority and are displayed prominently on the user’s device.
By understanding these key terms and following best practices, developers can effectively use push notifications to engage with users and provide a better overall experience.
Frequently Asked Questions
What should I do if my push notifications aren't being delivered?
- Check device token: Ensure the device token is correctly registered with your server. It is crucial to ensure notifications are directed to the targeted device through Apple's Push Notification service (APNs).
- Verify APNs certificate and key: Make sure your APNs certificate or key is correctly configured and hasn’t expired.
- Check notification payload: Ensure your notification payload is valid and complies with APNs requirements.
- Monitor logs: Use tools like Charles Proxy or Wireshark to monitor network traffic and debug push notification requests.
Can I customize the appearance of push notifications?
Yes, you can customize the appearance of push notifications by adding rich media such as images, videos, and interactive elements. You can also use the UNNotificationContent class to specify custom content.
Additionally, users can manage notification settings for specific apps on iOS devices. This includes enabling or disabling notifications, adjusting styles, and utilizing features like Summarize or Priority Notifications tailored for individual applications.
How do iOS push notification requirements differ from Android requirements?
iOS requires an Apple Developer Account, APNs, and explicit user permission to receive notifications. iOS users must grant permission through a prompt that appears when the app is first launched. Android, on the other hand, requires a Firebase project and the Firebase API key. Android permissions are also declared in the manifest file and don’t require a runtime prompt for basic notifications.