Mailgun Channel Provider
Configuration
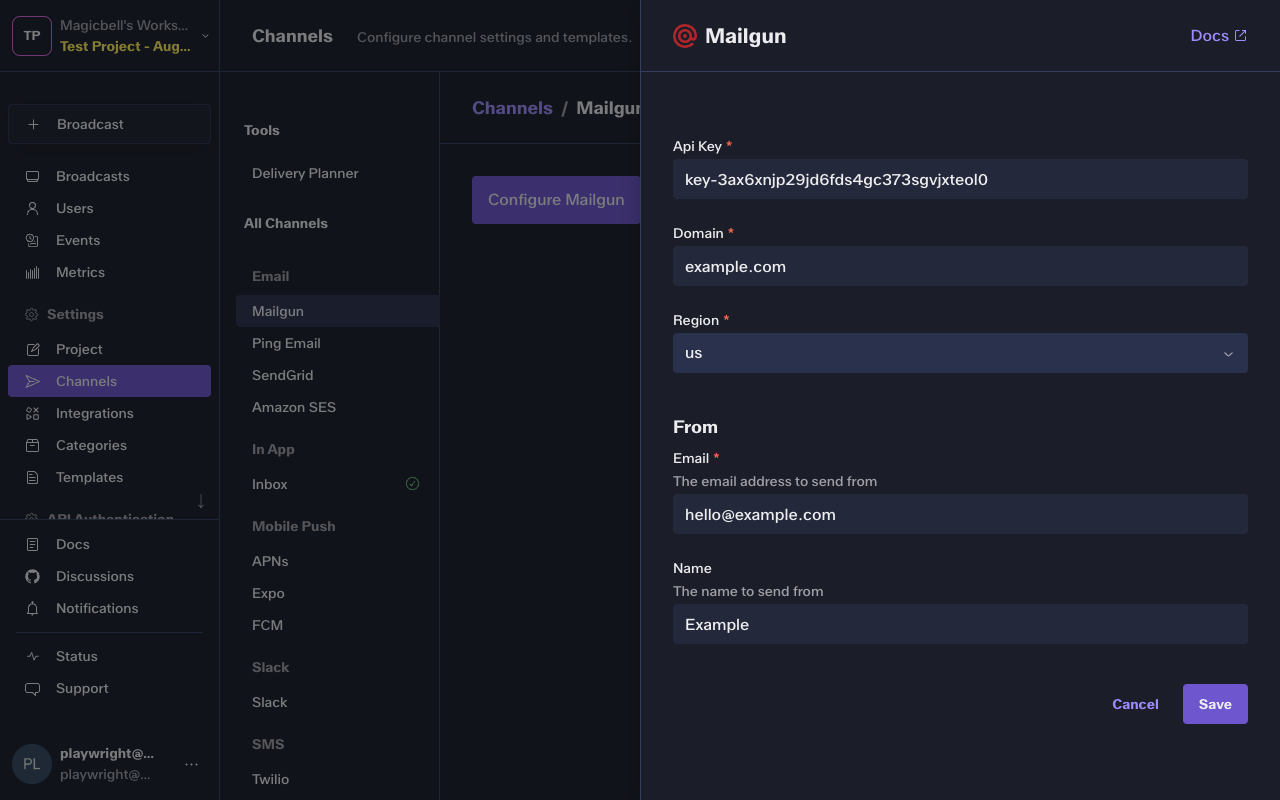
To configure the Mailgun integration, you'll need the following data:
| Parameter | Type | Description |
|---|---|---|
| domain | string * | |
| from | object | |
| string * | The email address to send from | |
| └ name | The name to send from | |
| api_key | string * | |
| region | string * |
In the Dashboard
The easiest way to configure this integration is through the MagicBell dashboard:
- Log in to your MagicBell dashboard.
- Navigate to Channels.
- Find and click on this channel name in the sidebar.
- Click the Configure Mailgun button.
- Follow the on-screen instructions to complete the configuration.
Using the API
Use the API to save , list and delete Mailgun. For example, to save the integration:
Request
curl --request PUT \
  --url 'https://api.magicbell.com/v2/integrations/mailgun' \
  --header 'content-type: application/json' \
  --header "authorization: Bearer $TOKEN" \
  --data '{"from":{"name":"Example","email":"[email protected]"},"api_key":"key-3ax6xnjp29jd6fds4gc373sgvjxteol0","region":"us","domain":"example.com"}'
Debugging
To debug the integration, you can use the following tools and techniques:
- Use the Deliveries screen in the MagicBell dashboard to monitor notification deliveries and troubleshoot issues.
- To experiment with or test the Mailgun API, you can use the Mailgun notification tester.